
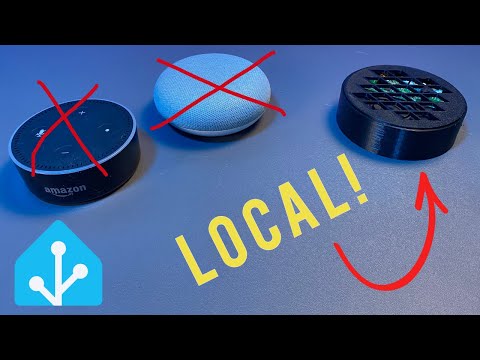
Build your own Echo Replacement fro $50 or less. I also have a guide to go along with this video at :
Other important Links:
Link to Home Assistant guide on setting up local Assistant Pipeline:
Link to Original Walkthrough –
YAML Code Mentioned in video:
3d Printed Cases:
Smaller one –
Bigger One –
Affiliated Links:
Raspberry Pi Zero W 2 –
Raspberry Pi Zero W 2 Kit –
Respeaker 2 Mic Hat –
Small Speaker –
Bigger Speaker –
Hammer-in Headers –
Hammer in Jig –
Video Chapters:
00:00 – Build your own Local Voice Assistant for $50 – Intro
01:09 – Prereqs to build a local Voice Assistant
04:35 – Prep the Raspberry Pi Zero 2 W – Flash the OS
07:16 – Installing the software for the Wyoming Satellite – Step 0 – SSH Into the Pi
08:40 – Step 1 – Update the OS
09:04 – Step 2 – Install Git
09:27 – Step 3 – Clone Wyoming Satellite
09:52 – Step 4 – Install Respeaker Drivers
10:43 – Step 5 – Reboot
11:05 – Step 6 – SSH Back in to the Pi
11:24 – Step 7 – Install Wyoming Satellite Dependencies
12:05 – Step 8 – Test your Progress
12:33 – Step 9 – Make sure your ReSpeaker Hat is detected
13:10 – Step 10 – Record a test
13:43 – Step 11 – Playback Test Audio
14:09 – Step 12 – Make sure the Wyoming Satellite will run
14:56 – Step 13 – Create the Wyoming Service
16:25 – Step 14 – Enable the Service
16:41 – Step 15 – Check that Service is running
18:30 – Step 16A – Add Wyoming Satellite to Home Assistant
19:01 – Step 16B – Audio Enhancements
20:14 – Step 17 – Install Local Wake word Dependencies
20:51 – Step 18 – Clone Open Wake Word
21:31 – Step 19 – Setup Local Wake Word
21:56 – Step 20 – Create Local Wake Word Service
22:48 – Step 21 – Add Local Wake Word to Wyoming
24:36 – Step 22 – Test your Wake Word
25:03 – Step 23 – Enable the LEDs
26:31 – Step 24 – Create LED Service
28:59 – Button up Jarvis
29:43 – Jarvis – Setup your own commands
34:51 – Its not Perfect…
Correction:
07:03 You should really turn off the Pi before connecting the Pi Hat
Who am I?
My Name is Jeff. I am an DIY-er and Automator of boring things. And, of course, a huge Home Assistant fan. Oh, I also live in a house that tweets.
Follow Me:
Github –
Twitter – /
On the Web –
Discord –
And if you like this video you could always fuel my automation habit –
Buy a Slacker Labs T-shirt:
One Time Donation:
Paypal:
Cash App: $slackerlabs
Buy me a coffee:
.
Or use my Amazon affiliate link which provides a small commission on things you buy without additional cost to you –


WTF! You shouldn’t hot-plug the hat on the Raspberry Pi! One wrong move/ping offset and you could let the smoke out. Even if everything is aligned correctly, you may not mate the, e.g., ground or other power pins in the right order and could cause excess currents to flow through signal pins into the Raspberry Pi GPIO connections.
all great except for nebu casa. Is there really no way to have alexa control HomeAssistant stuff WITHOUT a subscription?
thanks. the tutorial in the link is not reachable anymore. Can you put it somewhere we could reach ? thanks
But I want soldering
@SlackerLabs I can’t seem to pull up the follow along sheet. Do you still have it?