
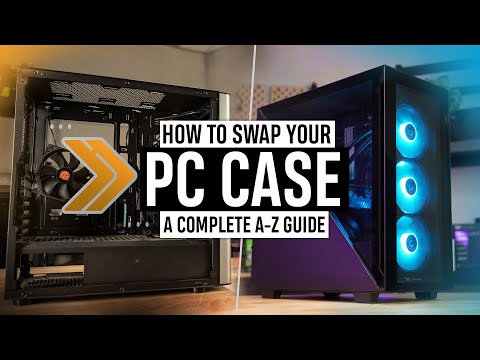
If you’re anything like Jono, you get bored with the way your PC looks often, so learning how to swap your PC case can give your PC that fresh new look it needs with minimal effort, and sometimes, you can improve the performance of it too!
This is something even brand new beginners to PC building can tackle, so if you’re ready, let’s get started!
0:00 – Introduction
0:41 – Before you begin
1:15 – Step 1 – The Unpluggening
1:42 – Step 2 – Removing the easy stuff
3:42 – Step 3 – Unpluggening 2: Electric Boogaloo
6:17 – Step 4 – Gutting the carcass
8:01 – Step 5 – Moving In
9:32 – Step 6 – Cable Time
11:23 – Step7 – AIO Cooler Reinstall
12:53 – Step 8 – Installing your HDD’s
15:07 – Step 9 – Installing your Graphics Card
16:55 – Step 10 – OPTIONAL Cable Management
17:33 – Congratulations! You did it!
17:57 – The outro
Have you checked out our podcast “Thermal Talk” yet?” It’s a gaming/comedy podcast where we discuss the latest in gaming, tech and more! We release the audio version one whole week earlier than the video version, you can listen here:
–
–
–
All the places you can find us:
Website –
Facebook –
Twitter –
Instagram –
Twitch –
Discord –
TikTok –
Kewl. A note about removing the Motherboard and CPU power connectors – they are held in place with a latch mechanism. Trying to remove them without pressing on the latch will not be a joyful experience.
When you have ‘gutted the carcass”, it’s a great opportunity to remove dust and gunk from fans, radiators and PSU vents.
Cant you just keep de watercooler in on the cpu and transfer it without taking loose?
My computer no longer turns on
You are a legend bro. You boosted my confidence so much and it all went so smooth.
WHY do you have all 4 slots for ram filled 💔